How to Knit a Daisy
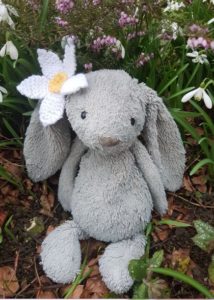
Complete Size - 9cm width x 9cm height
What you will need...
Total time 1 Hour Each Knitted Daisy
4mm knitting needles (UK 8, US 6)
Double knitting yarn - Your Choice of Colours
Sewing up needle
Scissors
Optional pin badge or plain hairband to sew onto the back of your knitted daisy.
Before You Start...
Abbreviations
K = Knit St = Stitch Sts = Stitches
Cast On - I use the thumb method.
G-st = Garter stitch. Every row knit (no purl stitches).
Inc = Increase - by working into the front and the back of the same stitch, to make two stitches out of one.
K2tog = Knit two stitches together at the same time (thereby halving your stitches).
Dec = Decrease - by knitting two stitches together, making one stitch from two.
Sl2tog - Slip two stitches together from the left needle to the right.
p2sso - pass two slipped stitches over (over the knitted stitch).
TOP TIP
Vary your number of petals and colour according to your own preference or flower design.
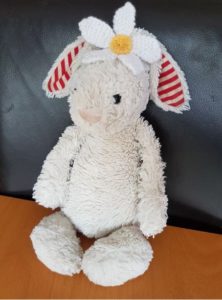
You can use these for all sorts of things - hair or toy accessories, decorative sideboard pieces, or on purses or handbags. I've even popped mine over the side of my rearview mirror (ensure you don't obscure your view!)
How to Make it...
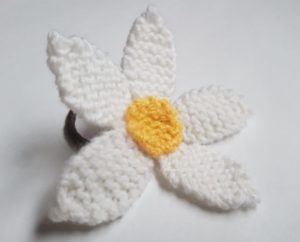
Made from a five knitted petals and a circular knitted centre. All pieces are sewn together in the middle.
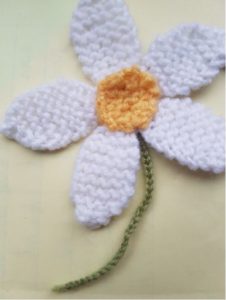
Petals
Make 5 Minimum
Time 10 Minutes Each Piece
Size - Width 2.5cm, height 4.5cm
Needles 4mm
Yarn White or Colour of Your Choice
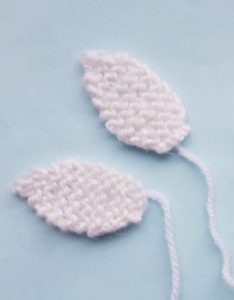
Cast on 4sts
G-st 2 rows
Next Row - Inc Kwise, K2, Inc Kwise (6sts)
G-st 11 rows
*Next Row - K2tog, K to end**
Continue from * to ** until 3sts remain
sl2tog, K1, p2sso
Flower Centre Piece
Make 1
Time 10 Minutes
Size - Width 2.5cm
Needles 4mm
Yarn Yellow or Colour of Your Choice
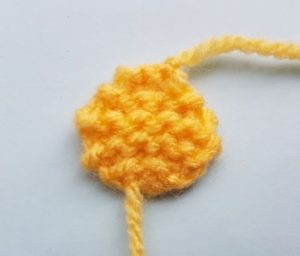
Cast on 3sts
Next row K
Inc K-wise into every stitch (6sts)
G-st 5 rows
Next row K2tog to end (3sts)
Cast off
Piece it Together...
Bring the cast on edges of the five petal pieces together, which will form a circular shape in the centre. Catch the ends of the cast-on rows to the next petal to complete the ring shape. Once petals are all sewn together, sew the knitted centre piece onto the front of the knitted daisy. Fasten off loose ends.
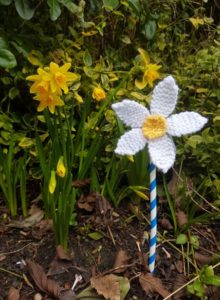
Attach a straw, hairband, or finger-knitted stem onto the back of your knitted daisy according to your design.
If used, ensure that all pins are removed when completed.
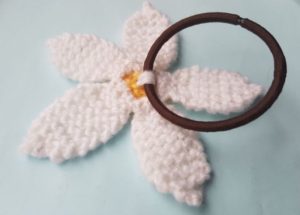
Make it Different!
Try different colour petals and centres to make a variety of flowers.
You could choose to make your petals in stocking stitch, which would make a thicker, more sturdy petal with a smoother finish. Simply double the amount of petal pieces you make (two for each finished petal), and stitching two petal pieces wrong-sides together for each petal.
You could use chunky wool to make a larger, thicker petals and centre pieces.
Behind the Scenes!
These patterns are all made up as I go along, learning from mistakes along the way. Every time I create a new pattern, I record it in the Updates part of this site (effectively my blog…) There is a story behind each creation, and this can help give you some more ideas and inspiration.
All done?
Feel free to share your successes or any other tips or suggestions by emailing me. If it's all gone swimmingly and you're ready for you next challenge, have a look at what to try next!


How do you do the last step of the petal
Hello! Thanks for your message and great you’re having a go.
Sl2tog – Slip two stitches together from the left needle to the right i.e putting your right needle into the two next stitches on your left needle and simply transfer it across. (No knitting into it or anything.)
psso – pass slipped stitches over (over the knitted stitch) ie those two stitches that you previously moved across (sl2tog), just use your left needle to move them over the knitted stitch and off the needle.
The idea is that it gives a sharper end point to the petal.
If you haven’t spotted it already – if you look towards the top of the page of any of the patterns, I put a section to say ‘Before you Start Abbreviations’, to try and explain any abbreviations I’ve used. I use standard knitting terms for the UK and so there may be some good you tube videos to watch if makes it clearer. I learnt a few techniques this way too.
Hope that helps!
Thanks and happy knitting, Ali
Re Centre. If I cast on 4 sts and then increase knitwise to all st., would I then have 8 sts? and finish with 4, the same as I casted on?
Oops, well spotted Joyce! The pattern has now been amended to what it should be, cast on 3 sts rather than 4 (4 sts would indeed make the centre too large). I usually triple check these things so sorry this has passed me by – I apologise for the confusion and your time spent. Great to see people trying these things out though too! Thanks so much letting me know and hope nobody else has been upset by this – sorry! Ali