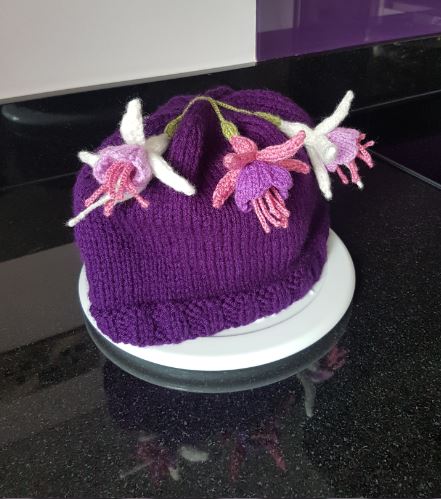
How to Knit a Tea Cosy
Complete Size - 30cm width x 20cm height x 19cm depth
What you will need...
Total time - 6 Hours 30 Minutes Each Knitted Cosy (Cosy only)
5mm knitting needles (UK 6, US 8)
Double knitting yarn - any desired colour
Sewing up needle
Scissors
Before You Start...
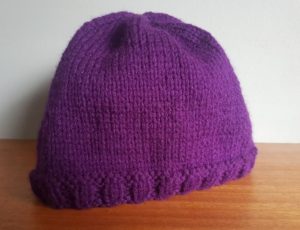
This cosy is created as more of a dome (hat) shape as opposed to a 'flat' cosy - this creates the deeper ridges on the top, to allow any accessories to settle in.
Abbreviations
K = Knit P = Purl St = Stitch Sts = Stitches
Cast On - I use the thumb method.
St-st = stocking stitch. Alternating a row of knit stitches (right side), with a row of purl stitches (wrong side).
K2tog = Decrease by knitting two stitches together, making one stitch from two.
B&t tightly - Break off yarn and thread yarn through the remaining stitches on the needle, pull up tightly and fasten off.
TOP TIPS
Choose your top Accessory - This basic cosy can be topped with many different removable accessories.
Consider a Removable Liner - I have not added this but lining the cosy with a cotton removable insert, would allow easier cleaning as well as increasing the longevity of the knitted cosy. Alternatively, check your yarn information label as many have machine wash instructions, and use a dark colour yarn to reduce chances of staining.
How to Make it...
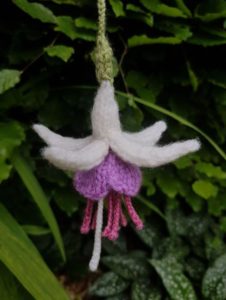
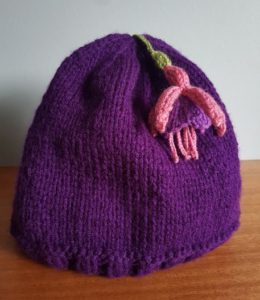
This design is made up of 2 knitted pieces oversewn together. It would go well with any optional removable accessory of your choice, such as the knitted fuchsias (pattern seen separately).
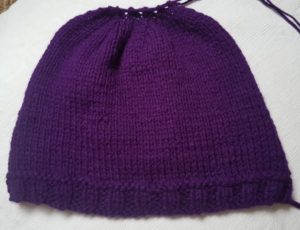
Main Piece
Make 2 for Each Tea Cosy
Time - 2 Hours 50 Minutes Each
Size 31 cm width
Needles 5mm
Yarn Purple - doubled up or chunky
Cast on 48sts
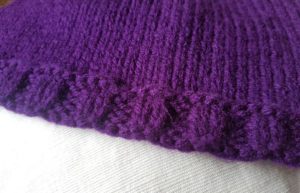
For the next 4 rows (K2P2) to end to form ribbed pattern
Next row P
Beginning with a P row, continue in st-st a further 33 rows
Continue to shape top of the cosy
Next row (K4, K2tog) to end (40sts)
Next row P
Next row (K3, K2tog) to end (32sts)
Next row P
Next row (K1, K2tog) to end (16sts)
Next row P
Next row (K2tog) to end (8sts)
B&t tightly
Piece it Together...
With the right side of stocking-stitch on the outside, oversew the row ends of the two main pieces (preferably mattress stitch for a neat finish).
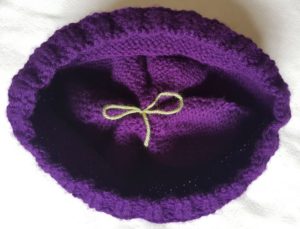
Attach your accessory by threading a long end of yarn through the top centre of the cosy and tie with a bow on the inside. This allows easy removal so that the rest of the cosy may be washed without the more delicate accessory.

Make it Different!
Add you own imagination to your design - I like the thought of the bottom edging done in green, with the rest in bright blue to form a 'grass and sky' background. Perfect backdrop for some added knitted flowers or embroidered design.
Knitting and purling stitches can be varied to your own design - such as extending the edging pattern to make the whole cosy in a ridge pattern.
Try a few different colours and vary the accessory (see options below!) to match the colour scheme of your room or kitchen, or even according to the occasion or time of year.
Behind the Scenes!
These patterns are all made up as I go along, learning from mistakes along the way. Every time I create a new pattern, I record it in the Updates part of this site (effectively my blog…) There is a story behind each creation, and this can help give you some more ideas and encouragement.
All done?
Feel free to share your successes or any other tips or suggestions by emailing me. If it's all gone swimmingly and you're ready for you next challenge, have a look at what to try next!
