How to Knit Bunting
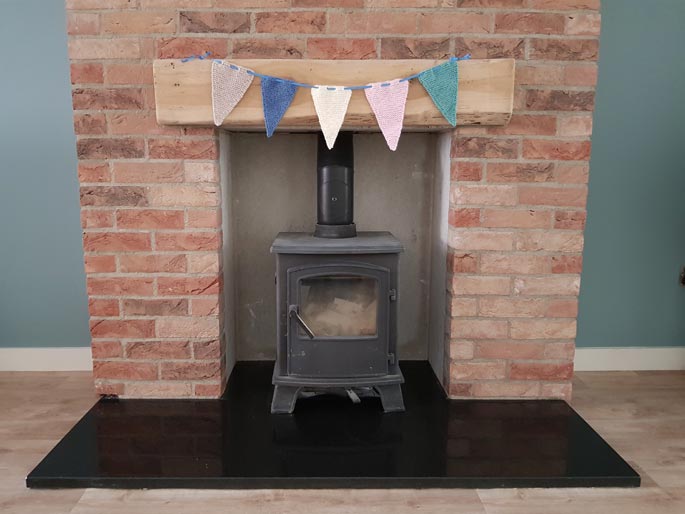
Complete Size – As pictured above 81cm bow to bow
Each Triangle - 12cm width x 19cm height (approx.)
What you will need...
Total time - 1 Hour 10 Minutes Each Knitted Bunting Triangle
4mm knitting needles (UK 8, US 6)
Chunky Double knitting yarn - various colours
Sewing up needle
Scissors
Ribbon for stringing along (allow enough extra length for tying a bow at each end)
Before You Start...
Abbreviations
K = Knit St = Stitch Sts = Stitches
Cast On - I use the thumb method.
Yrn = 'Yarn Over' - Loop the yarn around the end of your needle (under and over) to create a new stitch.
K2tog = Knit two stitches together at the same time (thereby halving your stitches).
G-st = Garter stitch. Every row knit (no purl stitches).
Sl2tog - Slip two stitches together from the left needle to the right.
p2sso - pass two slipped stitches over (over the knitted stitch).
TOP TIP
To prevent losing track of which row you are working on and counting your rows all over again, mark every 15 rows so that you don't need to count them all. A bit of coloured yarn just dangled through works well.
Make a note of your three times table! This will help you count your rows to work out which row you are supposed to be working on, according to the pattern.
Using the same brand of 'chunky' wool for each triangle will make your individual pieces exactly the same size, otherwise there will be some variation. Or as I've done - use up some old different ones you've got, and call it character!

How to Make it...
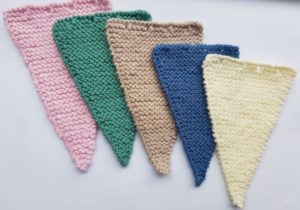
A group of individual knitted triangles of different colours, with a length of ribbon woven through each triangle, with a bow tied at each end of the ribbon.
Triangle Piece
Make 6
Time - 1 hour 10 Minutes Each
Size - 12cm width x 19cm height Each Triangle (approx.)
Needles 4mm
Yarn Colour of your Choice
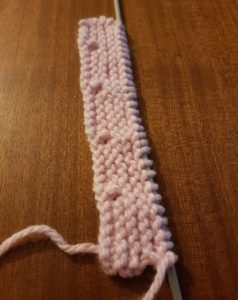
Cast on 24sts
Next row K
Form eyelets
K3, (K2tog, yrn, K3) 4 times, K1
Next row K
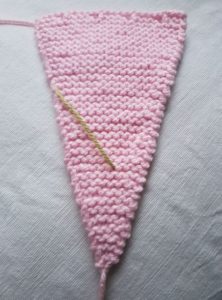
Begin Shaping
Next Row *K1, K2tog, K to end
G-st 2 rows**
Continue from * to ** until 3sts remain
G-st 2 further rows to complete the repeating pattern
Next row sl2tog, K1, p2sso and fasten off.
Piece it Together...
Fasten off the loose ends of each triangle.
Thread through a piece of ribbon/cord/yarn through the eyelets of each triangle, to attach each triangle together inline. The pictured example shows an approximate 1m 30cm length of ribbon used in total.
Tie knots or bows at the ends, trim the ends to make each side even, and string across your desired doorway or room!
Make it Different!
Try different repeating patterns and colour schemes, and add extra triangles for a longer length (maybe an extra one for each birthday!)
Try different ribbon, cord, or yarn to string them along.
Perhaps add in a bow or some beads between each triangle for a twist on tradition.
Embroider a letter onto each triangle if you wish to spell out a name or an occasion.
Behind the Scenes!
These patterns are all made up as I go along, learning from mistakes along the way. Every time I create a new pattern, I record it in the Updates part of this site (effectively my blog…) There is a story behind each creation, and this can help give you some more ideas and inspiration.
All done?
Feel free to share your successes or any other tips or suggestions by emailing me. If it's all gone swimmingly and you're ready for you next challenge, have a look at what to try next!
