How to Knit a Spider
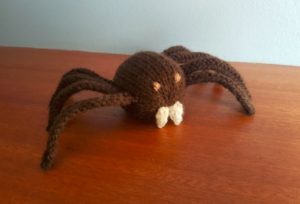
Complete Size - 16cm width x 4cm height x 6cm depth
What you will need...
Total time - 1 Hour 40 Minutes Each Knitted Spider
3.25mm knitting needles (UK 10, US 3)
Double knitting yarn - dark brown, light brown, and white.
Sewing up needle
Toy stuffing / filling
Scissors
Before You Start...
Abbreviations
K = Knit P = Purl St = Stitch Sts = Stitches
Cast On - I use the thumb method.
St-st = stocking stitch. Alternating a row of knit stitches (right side), with a row of purl stitches (wrong side).
K2tog = Decrease by knitting two stitches together, making one stitch from two.
Inc = Increase - by knitting into the front and the back of the same stitch, to make two stitches out of one.
Sl2tog - Slip two stitches together from the left needle to the right.
p2sso - pass two slipped stitches over (over the knitted stitch).
Cast off - K wise or P wise according to pattern. US - bind off.
B&t tightly - Break off yarn and thread yarn through the remaining stitches on needle, pull up tightly and fasten off.
TOP TIP
Great Halloween activity for children! Get them to have a go at knitting a leg, or help design a spider face; great for inspiration as well as a fun challenge for them. Red eyes, extra fangs, or a just a happy smiley spider - lots of options to personalise it.
How to Make it...
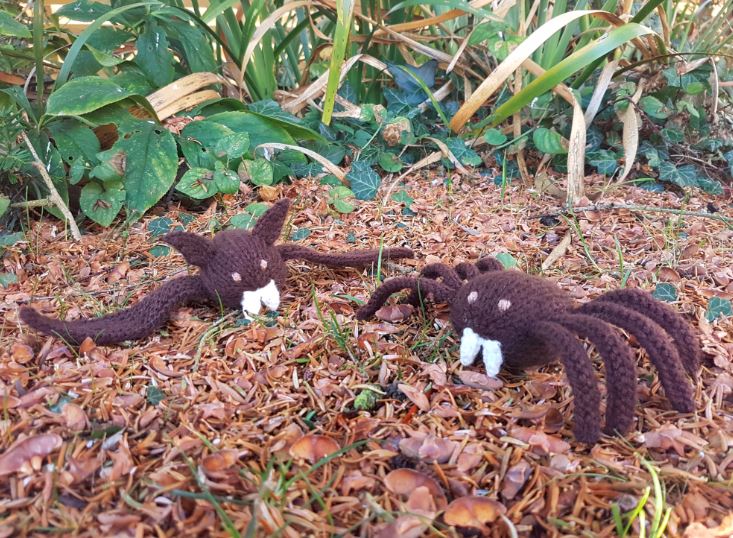
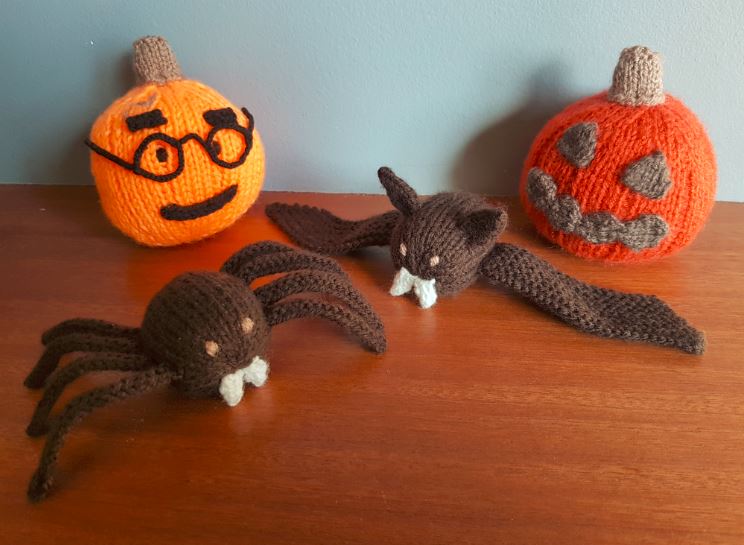
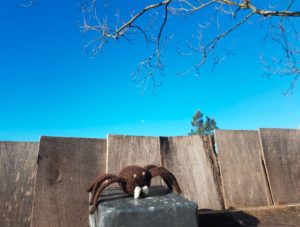
Made from a knitted body piece, eight knitted legs, and two small knitted fangs. All pieces are sewn together with a couple of eyes sewn on to complete the face.
Body Piece
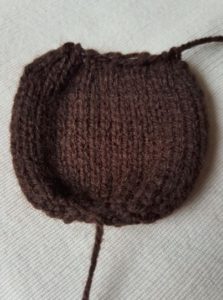
Make 1
Time - 30 Minutes
Size 4 cm x 6 cm
Needles 3.25 mm
Yarn Dark Brown
Cast on 4sts
P 1 row
Inc Kwise into every St (8sts)
P 1 row
Inc Kwise into every St (16sts)
P 1 row
Next row (K1, Inc Kwise) to the end (24sts)
Beginning with a P row st-st 17 rows
Next row (K1, K2tog) to the end (16sts)
P 1 row
Next row K2tog to the end (8sts)
B&t tightly
Legs
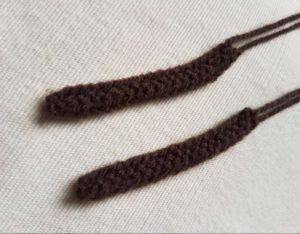
Make 8
Time - 5 Minutes Each
Size 7 cm x 1 cm
Needles 3.25 mm
Yarn Dark Brown
Cast on 20sts
K 1 row
Cast off Kwise
Fangs
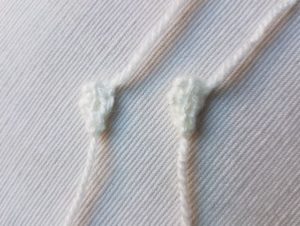
Make 2
Time - 5 Minutes Each
Size 1cm x 2cm
Needles 3.25 mm
Yarn White
Cast on 3sts
Beginning with a P row, st-st 3 rows
Sl2tog, K1, p2sso
Piece it Together...
Sewing up time and sewing of facial features - Total of 30 Minutes
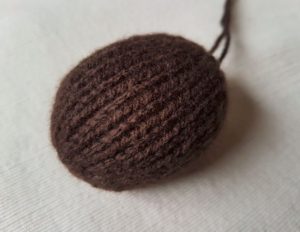
Body and Legs
Body - With right side of stocking-stitch on the outside, and beginning at cast-on edge, oversew row ends leaving a small gap at the top. Mattress stitch will leave a nice neat finish. Stuff with toy filling, then close the gap in the seam. Fasten off all loose ends.
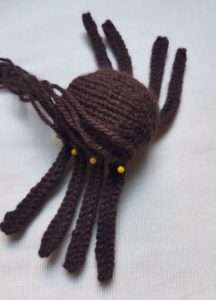
Legs - Turning your body piece upside down, pin the legs either side of the body in a row, leaving a distance of 6 clear knitted stitches from the seam. Sew legs in place from this underside (this will leave a neater finish from the top view.) Ensure all pins are removed when complete.
To allow the legs to curl outwards and down, place your index finger along and pushing upwards against the join of the legs and wrap the legs around your finger.
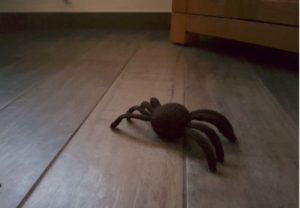
Facial Features
Sew on a couple of eyes to the front of the face, leaving 3 clear knitted stitches between them (when doing two eyes).
Pin each of the fangs to the face in the desired position, and sew into place at the top cast-on edge only, to allow it to protrude.

Make it Different...
The majority of spiders have eight eyes - so if you've got a bit more time - add a few extra - And red ones may be especially scary! There is always the other option of making things a little less scary - a happy smile, or picking some other little knitted shapes to use as part of the face. Perhaps using knitted hearts for eyes, picking out some knitted emoji facial features, or using some other small knitted pieces from other knitting patterns - just mix and match.
A finger-knitted length of around 15cm works out just about right to sew to the top of your spider to make a little hook or a long dangly thread - let him dangle from a door handle or wriggle his legs in front of unsuspecting guests!
Start your own little creepy critter collection - as well as a few spiders with different faces, you can knit some other fangtastic friends such as the batty bat. Adding a couple of pumpkins and knitted monsters can then complete your Halloween collection!
Behind the Scenes!
These patterns are all made up as I go along, learning from mistakes along the way. Every time I create a new pattern, I record it in the Updates part of this site (effectively my blog…) There is a story behind each creation, and this can help give you some more ideas and encouragement.
All done?
Feel free to share your successes or any other tips or suggestions by contacting me. If it's all gone swimmingly and you're ready for your next challenge, have a look at what to try next!
