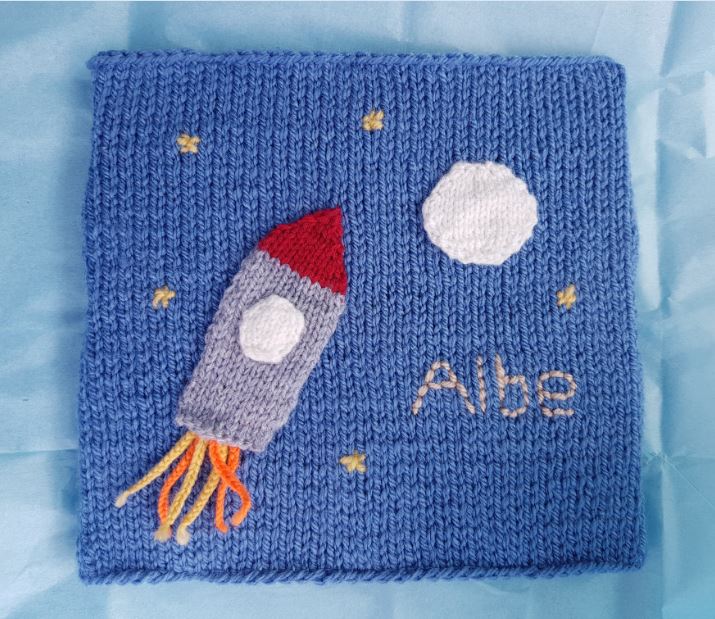
How to Knit a Space Scene
Complete Size - 20cm width x 20cm height
What you will need...
Total time - 5 Hours 15 Minutes Each Knitted Picture as Shown
3.25mm knitting needles (UK 10, US 3)
4mm knitting needles (UK 8, US 6)
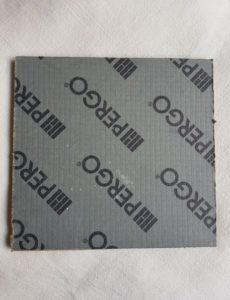
19cm Square Backboard (e.g. Cut board/canvas/frame) with picture Hook or Nail fixed to the back (if not included)
Double knitting yarn - desired colours
Chunky Yarn for Background
Sewing up needle
Scissors
Before You Start...
Abbreviations
K = Knit P = Purl St = Stitch Sts = Stitches
Cast On - I use the thumb method.
St-st = stocking stitch. Alternating a row of knit stitches (right side), with a row of purl stitches (wrong side).
K2tog = Decrease by knitting two stitches together, making one stitch from two.
P2tog = Decrease by purling two stitches together, making one stitch from two.
Inc = Increase - by knitting into the front and the back of the same stitch, to make two stitches out of one.
Cast off - P wise. US - bind off.
TOP TIP
Vary the size of your picture according to the particular frame/canvas you have as your background fixing - see 'Now for the Maths!' below on how to adjust your main piece knitted size.
How to Make it...
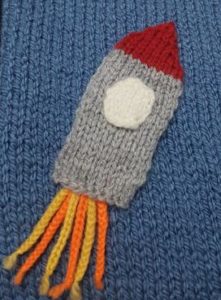
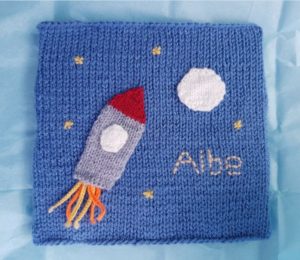
Made from one knitted main piece, a space rocket made from two smaller knitted pieces and some finger knitting, and a further small knitted piece for the moon. All pieces are sewn together with added embroidery for a name and a few stars.
Main Piece
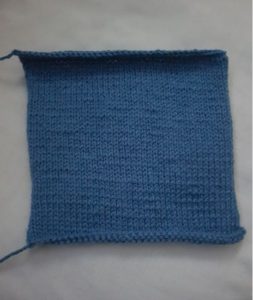
Make 1 (2 for Cushion Cover)
Time - 1 Hour 50 Minutes Each Piece
Size 21 cm square
Needles 4 mm
Yarn Chunky Blue (or as per preference)
Cast on 42sts
Beginning with a P row st-st 49 rows
Cast off Kwise
Space Rocket
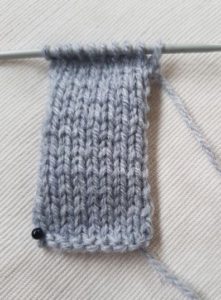
Make 1
Time - 25 Minutes Each
Size 10 cm
Needles 3.25 mm
Yarn Grey
Cast on 10sts
Beginning with a K row st-st 22 rows
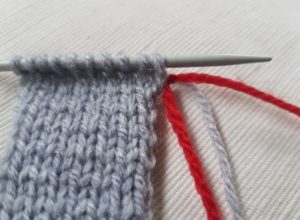
Join on red and st-st 2rows
Beginning with a K row, continue in st-st, decreasing 1 st at the start of every row, by either K2tog or P2tog depending on whether it is a K row or P row respectively, until 4sts remain (4sts)
K2tog twice (2sts)
Next row P2tog and fasten off
Rocket Window
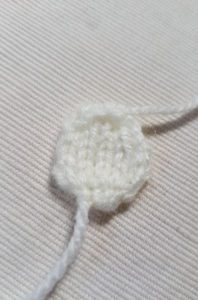
Make 1
Time - 5 Minutes Each
Size 2.3 cm
Needles 3.25 mm
Yarn White
Cast on 3sts
P1 row
Inc Kwise into every stitch (6sts)
Beginning with a P row st-st 5 rows
Next row K2tog to end (3sts)
Cast off Pwise
Flames
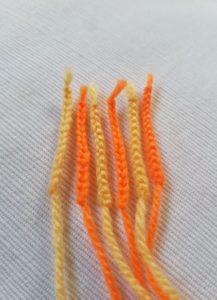
Make 6 (3 of each Colour)
Time - 20 Minutes Total
Size 3.5 cm
No Needles
Yarn Yellow and Orange
Finger knit lengths as above, fastening off but leaving long ends at the top of each length.
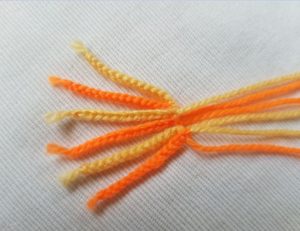
Using the long end of yarn from the first length thread through the ends of each of the other finger knitted lengths to join them altogether (as shown).
Moon
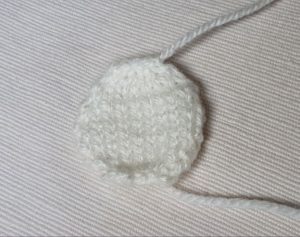
Make 1
Time - 15 Minutes Each
Size 4 cm
Needles 3.25 mm
Yarn White
Cast on 4 sts
Inc Knit-wise into every stitch (8sts)
Next row P
Continue in st-st a further 4 rows, Inc Kwise into the first and last stitch of all K rows (12sts)
St-st a further 2 rows
Continue in st-st a further 4 rows, decreasing by K2tog at the start and end of all K rows (8sts)
K2tog to end (4sts)
Cast off Pwise
Piece it Together...
Sewing up & Embroidery Time 1 Hour 40 Minutes

Space Rocket & Moon
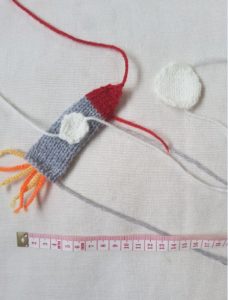
Sew the joined-up rocket flames centrally to just underneath the base of the rocket, allowing them to fan out freely.
Pin the knitted rocket window onto the rocket main piece and sew it into place.
Pin and sew on the completed rocket onto your background main piece, and then pin and sew the moon to the desired area of your space scene.
Fasten off all loose ends and ensure that all pins are removed when complete.
Embroidery
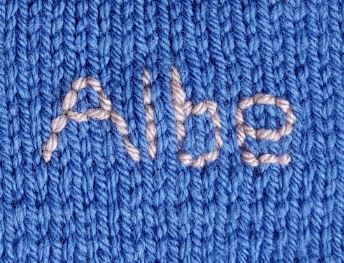
Sew on lettering in your desired position. I have used back-stitching. Counting the number of main piece stitches and rows helps you to keep all your lettering an even size. Using separate lengths of yarn for each letter will also allow a more secure fitting and make it less likely to pull out of shape.
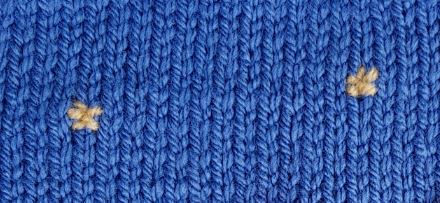
Individual stars can be made by sewing 5 arms back-stitched to a central point and fastened off. I have added five, evenly dotted around the sky.
Fixing to Backboard
Time - 40 Minutes
Yarn Chunky Blue
Finger Knit 6 Lengths of Approximately 25cm
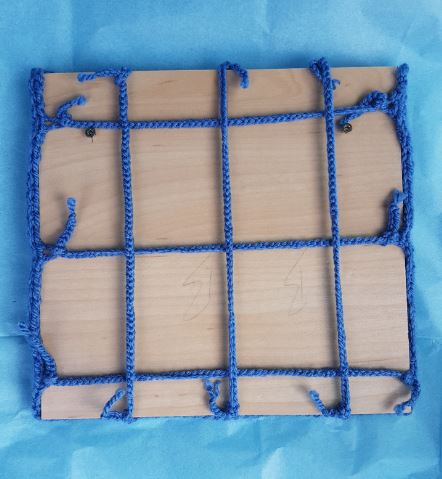
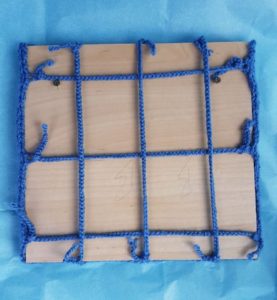
With your completed knitted picture lying against your backboard, work on the rear of the board to bring the knitted piece around the edges. As shown in the picture, evenly space three lengths horizontally and three lengths vertically. Pull them gently to tie each end with a single knot, holding the knitted piece in place.
If not using a canvas/regular picture frame as your backboard, remember to add a picture hook (or two screws as shown, to attach string to), to allow fixing to the wall.
Make it Different...
An option to save a bit more time is to sew the smaller knitted pieces onto a plain fabric background, either an old item of clothing or new plain material bought from a fabric shop. Attach to your frame/canvas in the same way.
Make two background main pieces and stitch them together with a wodge of stuffing (or removable insert) to make a cute little cushion.
Choose your own colours and embroidered lettering to make your picture personalised and unique. A man in the moon is another option, or a smiley boy on the rocket. Experiment with some smiley faces with button noses or get some other ideas on the knitted emoji page). Space scenes are only one idea but you can make your own scene with knitted flowers, knitted hearts or other small knitted pieces from other knitting patterns - just mix and match. Even plain squares can look great, made to fit with a room's particular colour scheme, adding texture and colour balance to a room.
Perfect handmade new baby gift, a lovely little keepsake!

NOW FOR THE MATHS!
Adjust the size of your picture according to your underlying board or frame. For this you need to take into account your tension, needle size and yarn gauge. This will help you calculate the adjustment needed for your number of cast on stitches. The number of rows can then be adjusted through measuring as you work up.
Check Your tension...
This is how 'tight' your yarn is to your needle. Traditionally this is knitting a 10cm piece and working out how many stitches you need to cast on to produce that size. However - if you've got an old knitted piece, just measure that to work out how many stitches you need per centimetre. Although your tension may be similar to mine, this is often unique to yourself, especially if you've just learnt how to knit. (My yarn was so tight when I just started to learn that I could hardly fit the needle through!)

Check Your Yarn and Needle Size
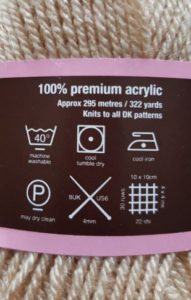
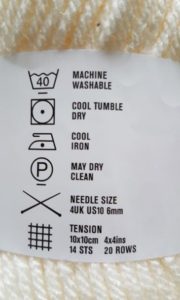
The size of your knitted piece will also depend on the yarn you are using - each company/brand will be different. The label often advises using a particular needle size and you can stick to this with the tension guide as above, and some labels may also give you a guide on how many stitches per cm.
Behind the Scenes!
These patterns are all made up as I go along, learning from mistakes along the way. Every time I create a new pattern, I record it in the Updates part of this site (effectively my blog…) There is a story behind each creation, and this can help give you some more ideas and inspiration.
All done?
Feel free to share your successes or any other tips or suggestions by emailing me. If it's all gone swimmingly and you're ready for you next challenge, have a look at what to try next!
