How to Knit an Egg
Complete Size – 4cm width x 4cm depth x 6cm height
What you will need...
Total time - 1 Hour Each Knitted Egg
3.25mm knitting needles (UK 10, US 3)
Double knitting yarn - various colours
Sewing up needle
Scissors
Stuffing/Toy Filling
Before You Start...
Abbreviations
K = Knit P = Purl St = Stitch Sts = Stitches
Cast On - I use the thumb method.
Inc = Increase - by knitting into the front and the back of the same stitch, to make two stitches out of one.
K2tog = Knit two stitches together at the same time as above (thereby halving your stitches).
G-st = Garter stitch. Every row knit.
St-st = stocking stitch. Alternating a row of knit stitches (right side), with a row of purl stitches (wrong side).
B&t tightly - Break off yarn and thread yarn through the remaining stitches on needle, pull up tightly and fasten off.
TOP TIP
Choose your yarn - Use chunky or regular yarn but note the former will result in a larger egg. Have a look at the Patterns and Stripes section, and the Make it Different section to plan your design.
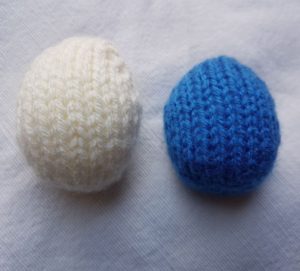
Chunky wool or two strands of yarn simultaneously, makes a larger egg as per the egg on the left, with no extra effort. Two-tone patterns using two different coloured lengths of yarn together, can also add to your unique design.
How to Make it...
Made up of a single piece, but with varying designs. Try different colours, using stripes, or adding some embroidered stitching to make some happy egg faces.
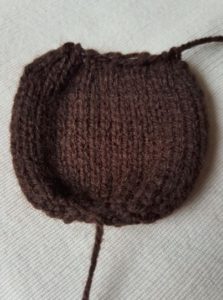
Basic Piece
Make 1 for Each Egg
Time - 30 Minutes Each Piece
Size 4cm x 6cm
Needles 3.25 mm
Yarn Colour of your Choice
Cast on 4sts
P 1 row
Inc Kwise into every St (8sts)
P 1 row
Inc Kwise into every St (16sts)
P 1 row
Next row (K1, Inc Kwise) to the end (24sts)
Beginning with a P row st-st 17 rows
Next row (K1, K2tog) to the end (16sts)
P 1 row
Next row K2tog to the end (8sts)
B&t tightly
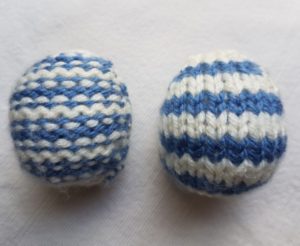
Patterns and Stripes
Begin as per the basic piece, and after the first purl row, tie on a different colour to begin working stripes.
Continue working two rows for each colour, in the pattern as detailed for the basic piece. Multicoloured alternate stripes are a nice idea for an even more colourful egg.
Flip over your knitted stripey egg piece to reveal the following beautiful reverse pattern. Making up both versions together make a nice part of a set.
Two-tone patterns using two different coloured lengths of yarn together, can also add to your unique design, with a pretty pattern as well as a slightly larger egg.
Piece it Together...
For each knitted piece, oversew row ends, while stuffing to form the perfect rounded shape and firmness. Mattress stitch with right side of stocking-stitch on the outside will leave a neat finish.
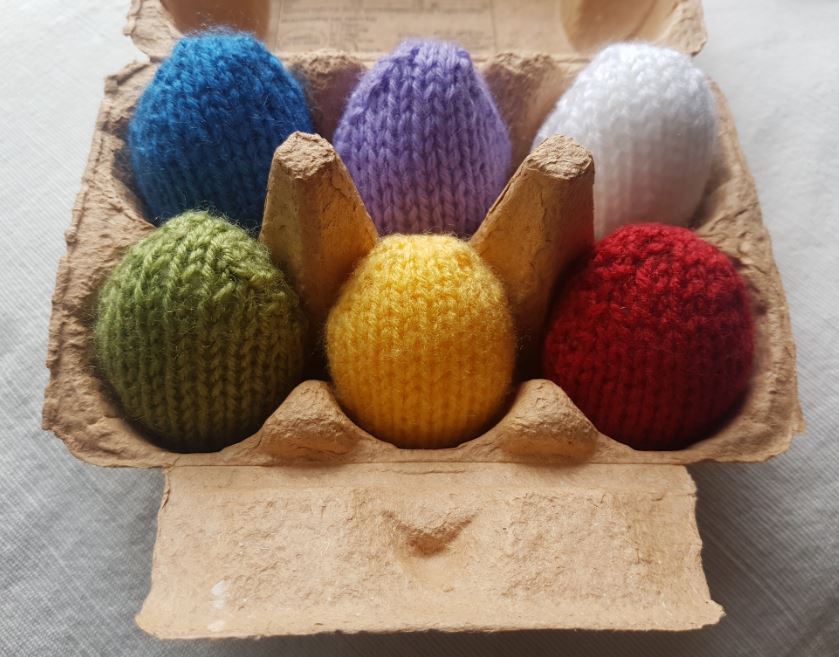
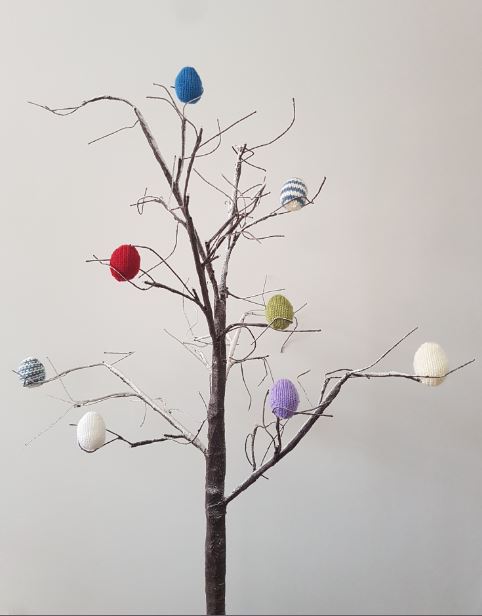
Pop a collection of eggs together in an eggbox, or in a nice basket with some shredded paper to make a nice decoration. Even decorate an Easter tree!
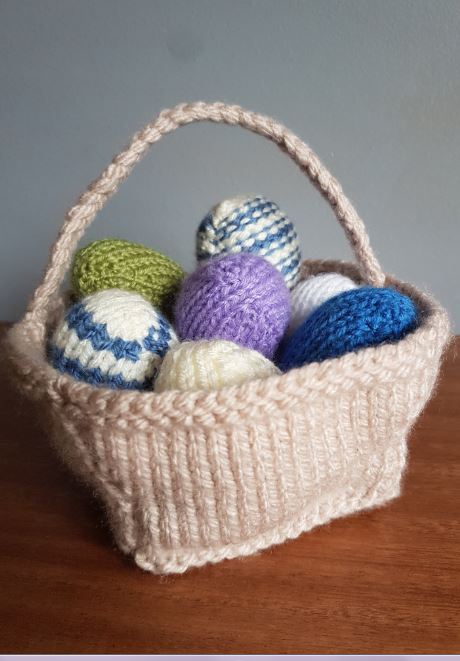
Make it Different!
Using garter stitch may be easier for children or those who are learning, but will still result in a good egg, and create a contrast when mixed with other eggs.
You could even add your own spots or stars - embroidered onto the surface of your completed eggs. And maybe even knit a little basket to put them all in!
Take a look at the knitted red nose for some more inspiration, including finger-knitted arms and legs. Add a bit of hair, a couple of googley eyes or some embroidered facial features, and you could even end up with a little tribe of little egg people. Try and make your own little egg family!
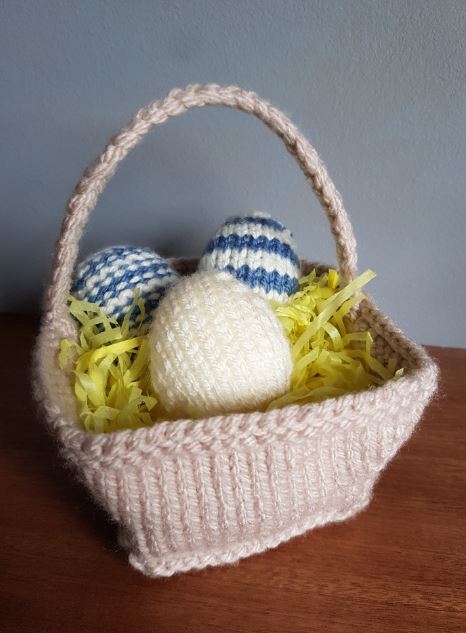
Behind the Scenes!
These patterns are all made up as I go along, learning from mistakes along the way. Every time I create a new pattern, I record it in the Updates part of this site (effectively my blog…) There is a story behind each creation, and this can help give you some more ideas and inspiration.
All done?
Feel free to share your successes or any other tips or suggestions by emailing me. If it's all gone swimmingly and you're ready for you next challenge, have a look at what to try next!
